Creating Cinematic Cosplay Photography

Luminara Cosplay as Astrid from How to Train Your Dragon
Kerry Martin/Kerrit Cosplay
One of my goals in cosplay photography is to create photos that look like they could be a shot straight out of the movie/tv show/video game etc the character comes from. In my opinion, this is the best way to showcase cosplays, because you’re trying to put them straight into the world they were designed for. I have a background in film, so I feel like this is something I’m fairly good at and I don’t think it’s something that’s all too hard to achieve.
Everything on this list is a suggestion with a goal of a specific style in mind, but don’t think it’s a criticism if you’re still doesn’t work with these ideas; it doesn’t mean I think they’re bad things to do, just that I don’t think they fit this specific style in general (as always though, rules can be broken!)
Breaking the fourth wall
Something it’s common to see in cosplay photography is the model looking directly at the camera, this is probably because that’s pretty standard in portrait/fashion photography, and also probably feels the most natural/least awkward for the model. However, apart from a few rare exceptions, characters in movies never break the fourth wall, so to make your photo look like it would not be out of place in a film, your model shouldn’t either.
This is where it’s important to have good communication between the cosplayer and photographer, an eye line that feels natural for the cosplayer may look awkward or obscure part of their face in camera. Often the best eye line can be just over the photographer’s shoulder as you can see most of their expression clearly without breaking the fourth wall. Which brings us onto:
Posing the Face

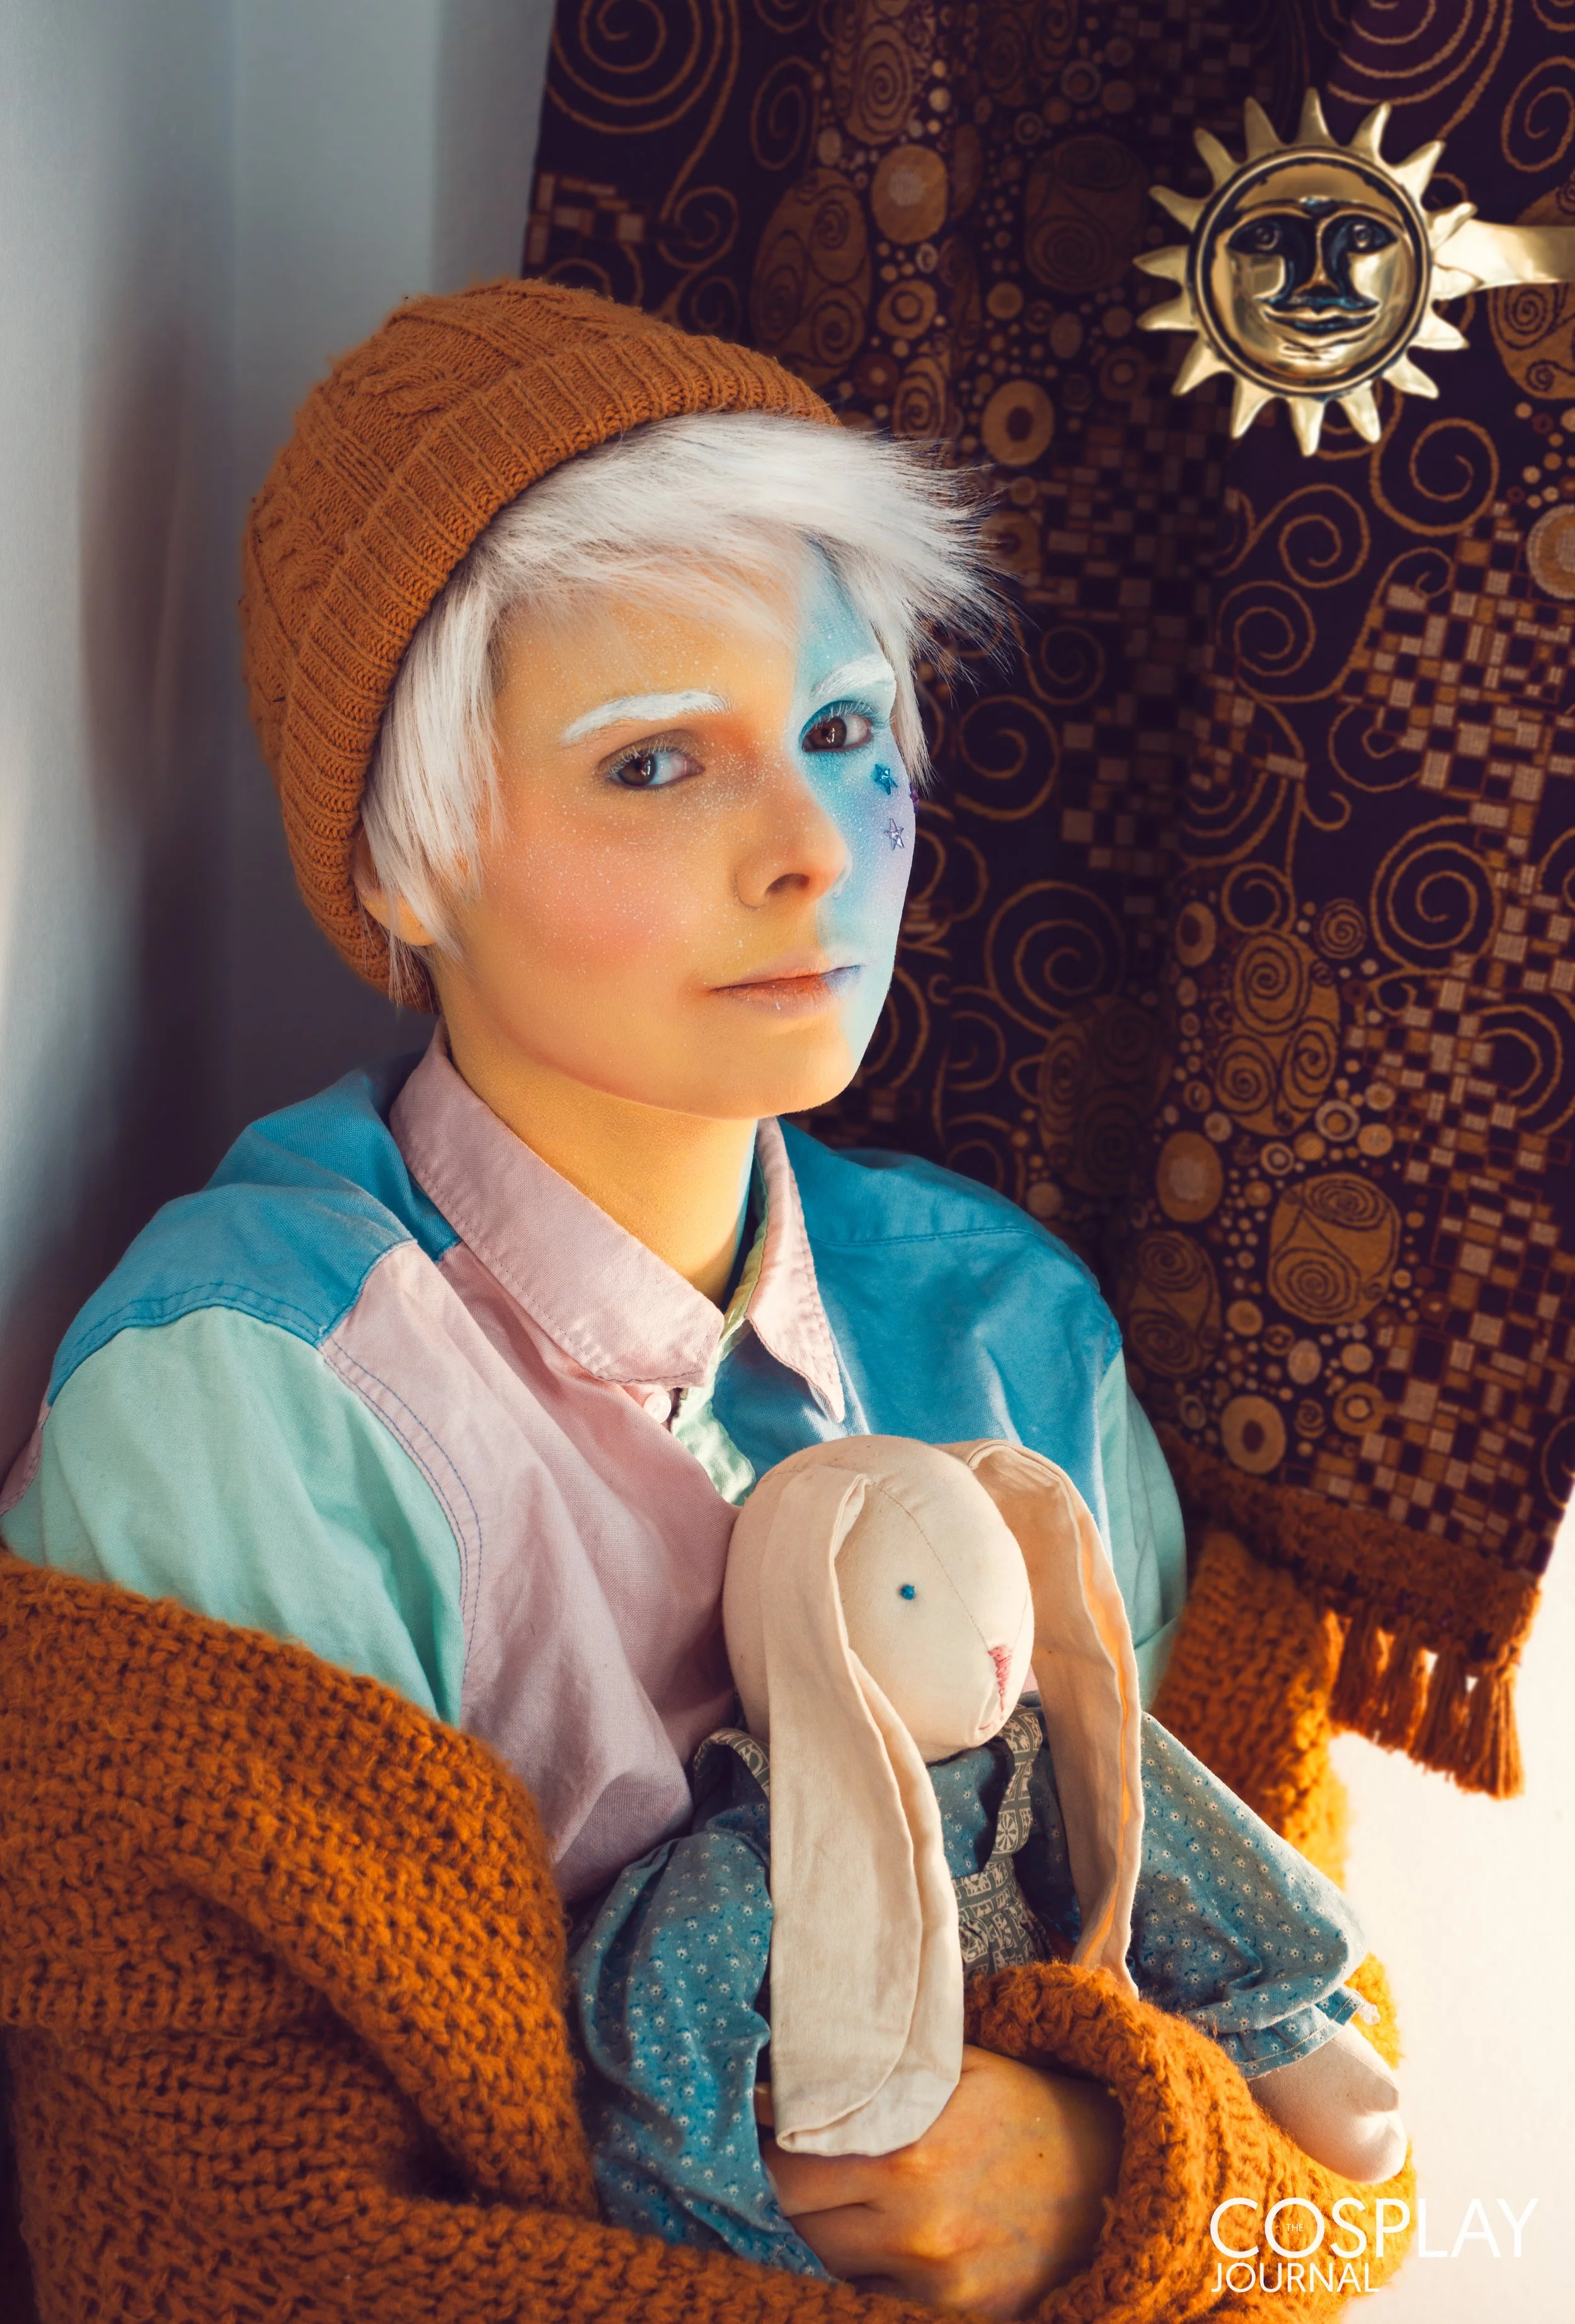
Amazonian Cosplay as Bean from Disenchanted
Something we often forget when posing cosplayers - especially newer cosplayers who haven’t yet worked out what works for them - is that facial expressions also need posing. In fashion photography models tend to opt for a fairly neutral expression, this is easier to hold than something that requires more acting (and it’s definitely worth posing in front of the mirror/taking selfies to work out what the most flattering “neutral” expression is for you), but some photos call for something a bit more interesting. Cinematic cosplay photos should be aiming to tell a story, or at least hint at one, and one of the easiest ways to do this is for the character to be portraying these emotions visibly.
As a photographer it’s important to help the cosplayer feel as comfortable as possible as it can often feel quite silly trying to hold these expressions. It can be quite daunting hearing “look angry/sad/badass” without much direction when you’re in front of the lens. What exactly is a “badass” expression? It can be helpful to direct the cosplayer in the same way you would direct an actor; rather than outright telling them the exact emotion you want from them explain the scene you’re trying to create. Are they staring down their foe in battle? Have they just seen a dragon in the wild for the first time? Have they just lost a loved one? It sounds like a small thing but it can really help your model paint a picture in their head for them to react to.
Posing
Of course, one of the hardest yet most important things to think about when shooting is posing. This is one that can be an entire article in itself so lets keep it brief.
It’s always best to research the character and source material you’re shooting prior to the shoot. When doing this you should think about what kind of poses suit the character, location, and props the cosplayer may have. Think about how you can have the cosplayer interact with the location - and no this doesn’t mean have them place a hand awkwardly on a tree/side of a building etc without any motivation for it being there. Think about what the character is doing and why.
It’s useful to think about the fact in movies characters aren’t posed in a way that just looks best for the camera, they’re actually doing something, again, every shot should be telling a story. Think of a scenario for the character, however simple it is. If they look like they’re doing something they’ll look like they’re a part of the world you’re trying to create. This can go for the mundane as well as action shots. Remember how people would look while doing those actions rather than just what’s the easiest and most flattering way to pose them - would that foot be forward with that arm up, would they be holding their prop/weapon at that angle? Would they logically be looking in that direction? Give as much feedback to your cosplayer as you can - they can’t see what they’re doing so don’t know what looks good and what looks awkward.

Luminara Cosplay as Astrid from How to Train Your Dragon
Work with your background rather than using it as a backdrop you don’t think much about. While you should definitely always make sure to at least get a couple of closer shots in every shoot to make sure the cosplayer has pictures showing off all the little details of their costume, if you’re going for the cinematic feel you shouldn’t be afraid to take a few steps back - or a lot of steps back. One of my favourite shots I’ve taken recently I was practically the other end of a field on a long lens yelling directions to my model.
This is a good place to start off for some more interesting framing too. Don’t just stick the model in the middle of frame, you can use your framing to emphasise parts of the scenery in the same way you get in films. Give the character space to move into. Should this be a low angle or high angle? What are they looking at? Create depth, perspective, and story, and don’t be afraid of long shots!
Lighting

Amazonian Cosplay as Kara from Detroit Become Human
Lighting in films tends to look a lot more natural than lighting for portrait photography, so if you want to give your photos the “cinematic” look, it’s an idea to try and replicate this style. Steer clear of bright lights close to the model, especially outside when the natural light would never look like that - trust me, even the untrained eye will be able to spot where artificial lighting has been used as it will look unnatural.
You want to aim for your lighting to enhance your shot in a way that looks like it makes sense for the setting they’re in. Generally speaking you always want your characters to be a little brighter than the background to draw your eye to them. If they’re outside you want the light to look soft and natural like it’s coming from the sun. If you’re working with coloured lights you want to make sure the colours aren’t so harsh they clip out and destroy details.
Always make sure the face is bright enough (check where the sun is! Is it behind them? Unless you’re going for a backlit shot that’s probably not where it should be!) and that the eyes aren’t in shadow - use a reflector to bounce light if necessary. Avoid shooting at midday as the sun being directly overhead creates unflattering shadows, and don’t shoot in harsh sunlight. Overcast days are better to shoot in than sunny ones, but if you don’t have another option, try to shoot in the shade so you don’t have intense shadows across their face which almost always looks ugly.
When you know you’re going to be adding a glow-y effect in photoshop later, always try and think about whether that will be casting light on the model, and try to do that with your lighting, it will look much more realistic than trying to add it later.
Match the source’s colour palette
One of the best ways to make your shot looks like it belongs in the universe the costume is from, is to match the source material’s colour palette. The first thing your eyes register when scrolling down your feed are the colours, so if you can get those spot on people will pay attention.
This is where editing is actually really important - I know some people don’t like to edit their photos but I think it’s actually one of the most important steps, and you can achieve quite a lot without much skill/experience.
There are tutorials available on Youtube for almost anything you could possibly think of doing in photoshop, but here’s a few of my favourite tips:
Firstly, always work with a reference image. The more you do this, the more you’ll work out how certain looks are achieved, and you’ll work out how to get there yourself, and you can often get your photo to actually look really close to the source. My favourite tool when trying to match my colour palette is ‘Selective Colour.” This allows you to edit based on colour groups - so for example you can change all the blues without changing the reds in skin tones like would happen when just using the colour balance tool.
When you think you’re done, take a break from staring at it. Your eyes get used to the colours and stop seeing what’s wrong with it. Flick back in 10 minutes and you’ll notice what needs to be changed. It’s also an idea to look at the picture on a different background, you’ll be surprised at the difference this makes. I always like to send an almost finished picture to my friends to see what they think and use the opportunity to have a look at it on my phone and I usually find things I want to change pretty quickly.
When adding any elements in always think about where the light would logically be coming from and how much blur there would be - even if the element you’re adding in is in focus it’s likely to need a very small amount of blur to look natural in your photo.

Our very own Ekko Cosplay as Clarke from The 100
I hope some of these tips help you to understand what elements can help to make a cosplay photo look like it jumped straight out of a movie, rather than being a standard cosplay portrait, but if you want to stick to portraits go for it! There are (mostly) no rules with art!